Hmmm, kanske det var du som tittat för djupt i flaskan???
Det spelar egentligen ingen roll hur du släpper i fördelaren.
Du flyttar bara runt tändkablarna eller så vrider du fördelaren lite för att kompensera om du kommer någon kugg fel.
Här är några guldgruvor att söka vidare i:
http://corvetteforum.com/techtips/viewt ... ?TopicID=3
http://wiki.corvettefaq.com/index.php?title=Main_Page
Om det här inte funkar, så hör av dig så kan jag komma förbi och hjälpa dig (går dock inte under helgen).
Utdrag från Lars Grimsruds instruktioner:
A distributor can actually be dropped into a block in virtually any orientation and made to function by re-arranging the spark plug wires to match the installation. You will see this approach to distributor installation quite frequently, and it is a sure-fire tip-off that the engine builder/distributor installer didn’t have a clue about how to do the job right.
GM always installed the distributor in a specific orientation, and always used the same distributor cap “tower” for the #1 spark plug. By following this procedure, your distributor will be installed in the correct factory position for a professional appearance.
1. Bring the engine up to Top Dead Center on the Compression Stroke and align the timing mark on the harmonic balancer with the 8-degree mark on the timing chain cover (or wherever you want the engine to fire. 8 Degrees is a good starting point for an initial start-up, but you can set it anywhere from 6 to 12 degrees before top center).
To Find Top Dead Center on the Compression Stroke with the engine in the car:
a. Remove the #1 spark plug
b. Disconnect the coil wire from the distributor cap and ground it
c. Have a helper plug the #1 spark plug hole with a finger.
d. With the starter, slowly “bump” the engine over until the helper feels air being forced by his
finger.
You are now coming up on the compression stroke. Align the timing marks as noted above.
To Find Top Dead Center on the Compression Stroke with the engine out of the car:
a. Remove the valve cover on the driver’s side of the engine to expose the valves for cylinder #1.
b. Rotate the crankshaft until the timing mark approaches top dead center. Observe the exhaust
valve.
c. If the exhaust valve is moving as you are approaching top dead center, you are on the exhaust stroke.
You need to rotate the crankshaft one more time.
d. If neither valve is moving as you approach top dead center, you are on the compression stroke.
Align the timing marks as noted above.
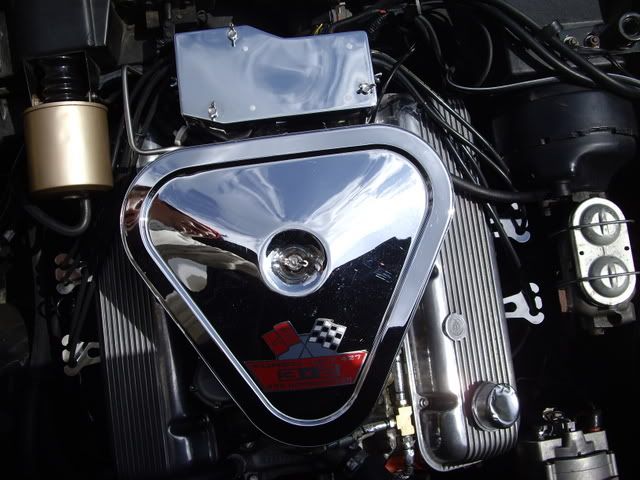
2. Install the rotor to the distributor.
3. Hold the distributor body in the orientation show in figure 1 relative to the engine/block and drop the distributor straight down into the block. Pay no attention to rotor orientation at this time. If the rotor is aligned with the oil pump driveshaft, the distributor will drop all the way down and seat. If the rotor does NOT line up, the distributor will not drop all the way down.
4. If the distributor does NOT drop all the way down (chances are best that it won’t), pull the distributor up out of the block just enough to disengage the rotor from the camshaft gear, and turn the rotor a little bit. Drop it down again. Repeat this until the distributor drops all the way down and the rotor engages with the oil pump.
5. The distributor will now be all the way into the block, but the rotor will not be properly aligned. You can now pull the distributor up until the cam gear disengages, turn the rotor JUST A HAIR (half a cam tooth), and drop it straight back down again. The rotor will now move one tooth over, and the chamfer on the oil pump shaft will allow the oil pump to line back up. The distributor will drop all the way back in again, with the rotor moved over one tooth. (If it doesn’t work, try rotating the rotor the opposite direction.) Repeat this operation (I call it “walking the distributor”) by lifting the distributor up, slightly moving the rotor, and dropping it back in until you’ve “walked” the rotor around to its correct position as shown in the figure below. Once you get the technique down, you can do this very quickly – much quicker than trying to align the oil pump driveshaft with a screwdriver while looking down the hole. The screwdriver technique also requires that you pull the distributor ALL THE WAY OUT to fiddle around with the screwdriver several times until you get it right. So try my “walking” technique: it’s quick and accurate.
6. Once you have “walked” the rotor into position, you should be able to obtain the orientation of the distributor body and the rotor as shown in Figure 1. Install the distributor hold-down clamp and bolt. Snug it, but leave it loose enough that you can rotate the distributor smoothly.
7. Attach an Ohm-Meter (continuity tester) between the distributor primary lead wire (the wire coming out of the bottom of the distributor body) and ground (any point on the engine). Rotate the distributor body SLIGHTLY clockwise from the orientation shown in Figure 1 until you read continuity (points are closed – giving continuity to ground). Now, SLOWLY rotate the distributor body counter-clockwise until the points JUST break open (loss of continuity on the ohm meter). The instant the points break open is the ignition firing point. Tighten your distributor hold-down bolt at this point. Your distributor body and rotor should now be aligned like Figure 1 (or VERY close).
8. Slip your distributor cap onto the distributor. Notice which “tower” is the #1 plug wire. With a felt marker, place a little mark on the distributor body at the #1 tower position. Pull the cap back off, and verify that the rotor is pointing to this mark (or VERY close). If it’s not, you’re most likely off by a tooth. Repeat the installation steps.
9. If everything is aligned (and it will be if you followed these steps), install the cap and install the plug wires as shown in figure 2.
10. Start the engine. It will fire and run immediately if the above steps have been followed.
11. Set the dwell to 30 – 31 degrees (always set dwell before setting timing. Changing the dwell changes the timing).
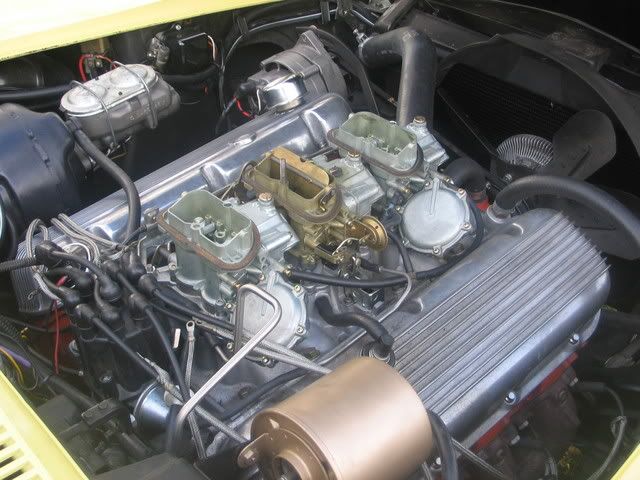
Alternate C3 Distributor Installation Orientation:
Due to the relationship between the distributor tach drive cable and the firewall on the C3 Corvette (1968 – 1974), GM issued a Service Bulletin allowing an alternate distributor installed orientation in order to straighten out the tach drive cable and to promote longer cable life.
The distributor orientation shown in the above photos installs the distributor so that the vacuum advance control unit pokes out in front of the distributor shielding at about a 7:00 o’clock position as seen from the front of the engine. In order to straighten out the cable and still retain the shielding, GM allowed the distributor housing to be rotated clockwise 45 degrees. This rotation pokes the vacuum advance out from behind the shielding, pointing it towards the rear flange of the passenger-side valve cover at about the 9:00 o’clock position as seen from the front of the engine. This orientation straightens out the tach drive cable. When doing this, the spark plug wires were all shifted 1 tower counter-clockwise in the cap, so that the plug wires retained their same relative positions to the engine/vehicle (#1 wire was placed in the previous #2 cap location, thus retaining the #1 wire as the forward, passenger-side plug wire).
It is recommended that C3 distributor installations be done according to the Service Bulletin Alternate Orientation in order to increase cable life and to simplify cable & distributor installation.